Forget the Pros: How I Installed My Own Home Security System (And You Can Too)
Thinking about home security? It's easier and more affordable than you think. Here’s a real-world guide to installing a DIY system yourself.
Let’s be honest, the idea of installing a home security system can feel… daunting. For years, it seemed like a job exclusively for professionals with vans, drills, and complicated wiring diagrams. I remember thinking that securing my own home meant signing a long-term contract and paying a small fortune for the privilege. But the home security landscape has had a major shake-up, and the power has shifted right into our hands.
I recently took the plunge and installed a complete DIY home security system myself, and I’m here to report back from the other side: it is absolutely, one hundred percent doable. In fact, it was surprisingly straightforward. The sense of accomplishment and peace of mind that came from setting up my own little fortress was incredible. It’s not just about saving money; it’s about understanding your home’s vulnerabilities and tailoring a system that perfectly fits your life.
If you've been curious about going the DIY route but feel a little intimidated, this is for you. We'll walk through the entire process, from planning and choosing your gear to the final, satisfying tap of "Arm System" on your phone.
Why Go DIY? The Three Big Wins
Before we get into the nuts and bolts, let's talk about why you'd even want to do this yourself. The benefits are more than just financial, though the cost savings are definitely a huge plus. When you skip the professional installation, you immediately eliminate a significant upfront cost. But the savings continue, as many DIY systems, like those from SimpliSafe or Ring, offer flexible monitoring plans. You can choose to self-monitor for free, getting alerts sent directly to your phone, or opt into professional monitoring for a monthly fee that's often much lower than traditional services, and usually without a scary long-term contract.
The second big win is customization. Nobody knows your home like you do. You know that one window in the back that always feels a bit exposed, or the side door that’s hidden from the street. With a DIY kit, you are the architect of your security. You decide exactly where each sensor, camera, and detector goes. You can start with a basic starter kit covering your main entry points and then expand it over time as your budget or needs change. Want to add a water sensor in the basement or a smart smoke detector? Just order one and pair it with your system in minutes.
Finally, it’s about control and privacy. In an age where we’re more conscious than ever about our data, installing your own system means you are in complete command. You set up the accounts, you control the camera settings, and you decide who has access. Modern systems from brands like Arlo or Abode are designed with user-friendly apps that make managing your security incredibly simple, putting all that power right at your fingertips.
Planning is Everything: Your Pre-Installation Checklist
A successful installation starts long before you open a single box. Taking an hour to plan will save you headaches later and ensure your system is as effective as possible. The first thing I did was grab a notepad and sketch a rough floor plan of my house. It doesn't have to be perfect—just a basic layout of rooms, doors, and windows on each floor.
Next, walk through your home and think like a burglar. Where are the most obvious points of entry? Your front door, back door, and any sliding glass doors are top priority. These are perfect spots for contact sensors, which will trigger an alarm if the door or window is opened. Then, look at ground-floor windows, especially those that are hidden from the street. You’ll want contact sensors on these as well.
Now, think about interior coverage. You don't need to put a motion sensor in every single room. Instead, focus on high-traffic areas and choke points. A hallway that connects all the bedrooms, the main living area, or a room with a lot of valuables are all strategic locations. One well-placed motion sensor can often cover a huge amount of ground. For cameras, consider placing one overlooking the main entryway and another covering a key area like the back patio or driveway. Just be mindful of privacy—avoid placing them in bedrooms or bathrooms.
The Installation: A Step-by-Step Guide
This is the part that might seem intimidating, but I promise, it’s mostly a peel-and-stick affair. Most modern DIY kits are designed to be wireless and incredibly user-friendly. Your first step will be to unbox everything and set up the base station. This is the brain of your system. Plug it in, connect it to your Wi-Fi using the system’s mobile app, and let it run any initial updates.
Once the base station is online, it’s time to place your sensors. Start with the contact sensors. These come in two pieces: one for the door or window itself, and one for the frame. Clean the surface with the included alcohol wipe, peel the backing off the adhesive strips, and press each piece firmly into place. The app will usually guide you on the proper spacing (typically no more than an inch or two apart when closed).
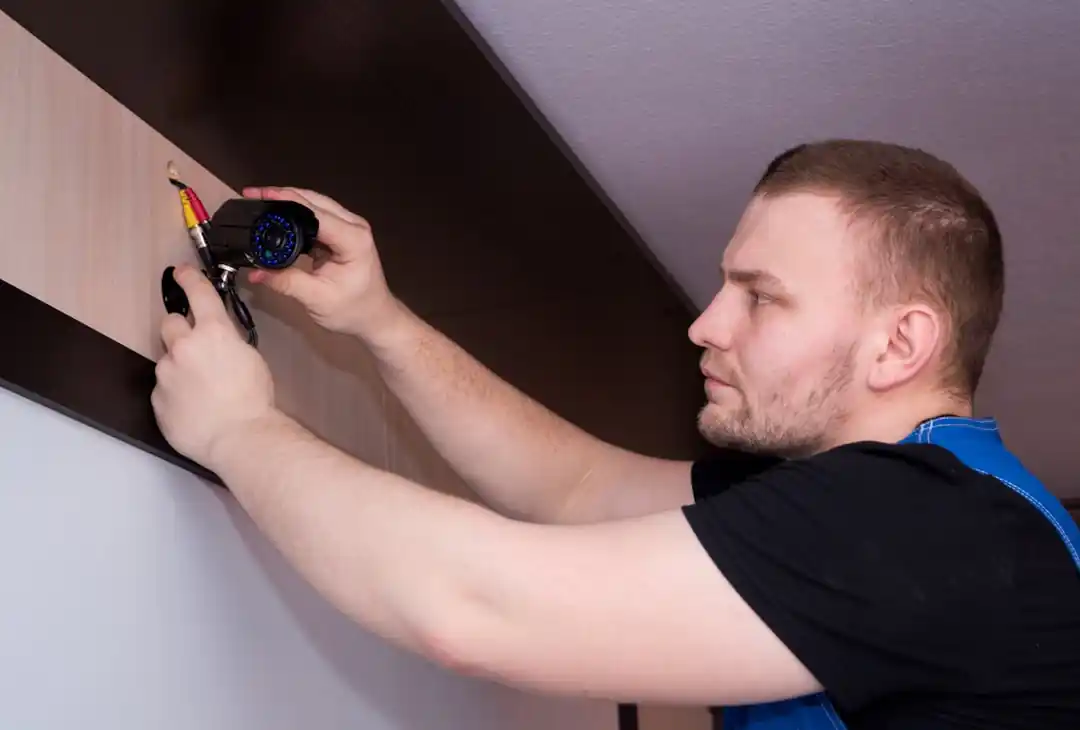
Next up are the motion sensors. These are best placed in a corner of a room, about 6-8 feet off the ground, angled downwards. This gives them a wide field of view to detect movement. A crucial tip I learned: avoid pointing them directly at heat sources like vents, radiators, or windows that get a lot of direct sunlight, as this can sometimes trigger false alarms. Once your sensors are up, you can mount your cameras. Follow the same logic, placing them high up and with a clear view of the area you want to monitor. Finally, use the app to name each sensor (e.g., "Living Room Motion Sensor," "Front Door") and test the system to make sure everything is communicating correctly.
Final Thoughts on Your Newfound Peace of Mind
Stepping back and seeing the system you built with your own two hands actively protecting your home is a deeply rewarding feeling. It transforms the abstract concept of "home security" into a tangible, personal accomplishment. You're no longer just a customer; you're the creator and manager of your own safe space.
The journey from a box of components to a fully functioning security network is empowering. It demystifies the technology and connects you more deeply to your home. Every time your phone buzzes with a notification, or you arm the system as you leave for the day, you’ll have the quiet confidence of knowing exactly how it all works, because you’re the one who put it there.
So, if you've been considering it, I hope this gives you the nudge you need. Don't let the idea of it overwhelm you. Start with a plan, choose a system that feels right for you, and take it one sensor at a time. The peace of mind you'll build is worth every moment.
You might also like

The Real Guide to Staying Safe While Traveling in Nigeria
Thinking about a trip to Nigeria? It's a place of incredible energy and culture. Let's cut through the noise and talk about how to travel smartly and safely.

A History Lover's Guide to India: More Than Just the Taj Mahal
Thinking about a trip to India? If you're a history buff, it's not just a vacation—it's a pilgrimage. Here’s how to dive deep into the subcontinent's incredible past.

Your Complete Guide to Lake Erie Island Ferry Services
Planning a trip to Put-in-Bay or Kelleys Island? Here’s everything you need to know about the ferry services that will get you there.

Your Guide to a Greener Future: Diving Into Online Environmental Science Courses
Thinking about making a real-world impact from your keyboard? Exploring online environmental science courses might be the most important first step you take.

Don't Just Survive a Canadian Winter, Embrace It: A Local's Packing Guide
Thinking of visiting Canada in the winter? As a local, I'm sharing the essential, no-fluff packing list that will keep you warm and ready for the magic.